
Glaze is a fantastic alternative to royal icing. It has a shine to it without drying with a fan or in the oven and it is softer after drying while still holding its shape. As with royal icing, you have the variability of humidity, heat and the amount of coloring added, so adjust accordingly for your area.
Ingredients
4 TBSP meringue powder
1/2 scant cup of water
2 TBSP of Crisco
2 TBSP of Karo syrup
1-2 tsp of extract or emulsion, flavor of your choosing
1 lb. sifted powdered sugar
In your mixer, using the paddle attachment, mix meringue powder and water for 1 – 2 minutes.
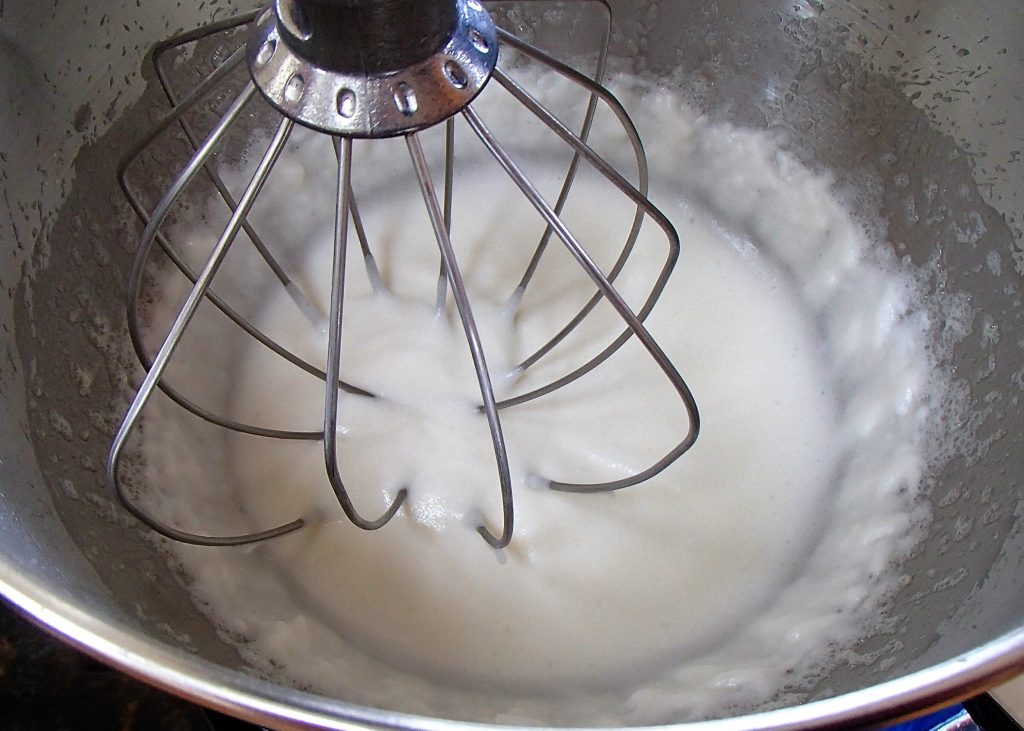
Switch to the whisk attachment and run on high for 7 – 8 minutes.
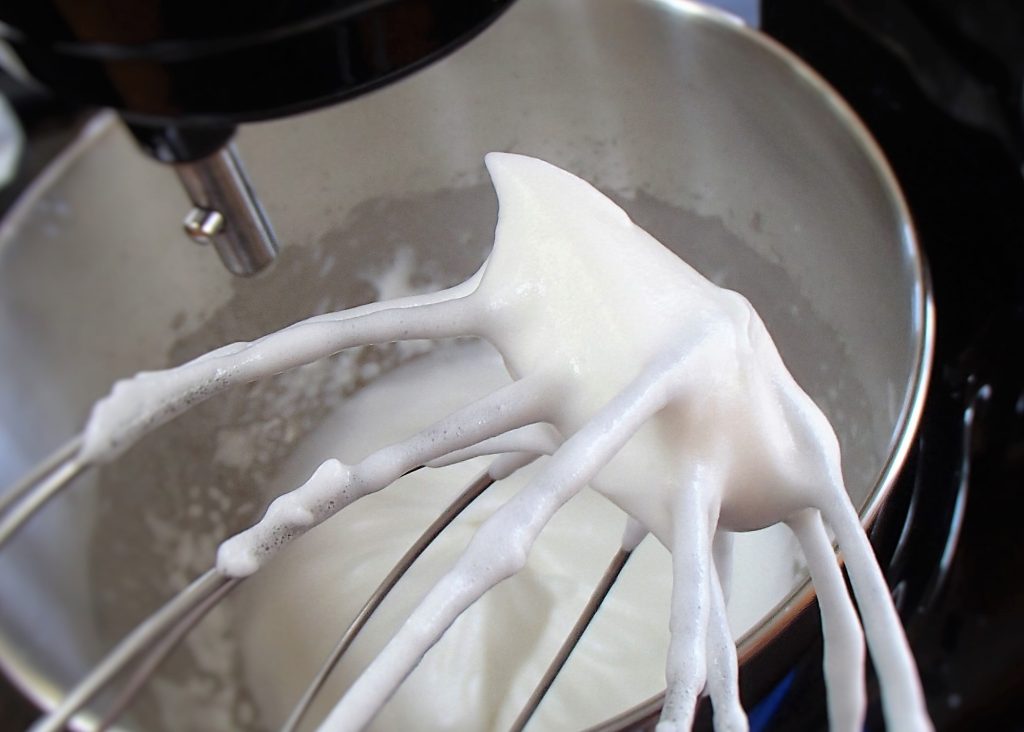
Replace with paddle attachment on medium and add Karo syrup, Crisco and flavoring to mix well. Slow the mixer down to low and add your sugar, about 1/2 of a cup at a time.
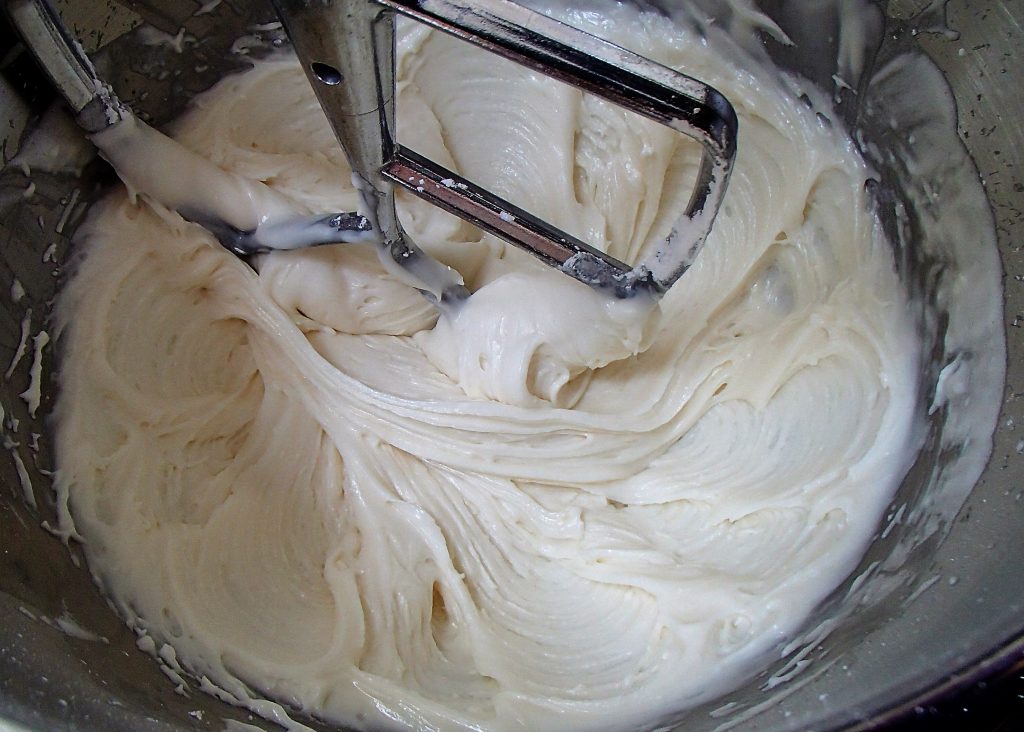
Mix on medium until very stiff, time will vary dependent on temperature and humidity.
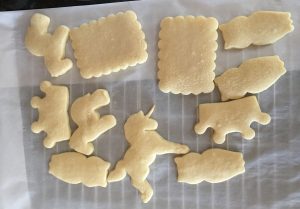
At this point, you follow the instructions the same as you would with royal icing.

There’s some things to keep in mind here.
- After you have mixed up your icing, place a damp towel over the mixing bowl while you divvy out your icing to make your colors. This prevents your icing from drying out and making chunks.
- I only start with about 1/2 – 3/4 cup of the icing to mix my color in first. This seems to be a safe amount for pastry bags and icing bottles alike.
- I always mix my color in first before I thin my icing. This gives you a better chance of your coloring not making your icing too thin.
- After I have reached my desired color, I do the 12 second test. Take a clean metal spatula and run it blade side through, from one side of the measuring cup. The goal is to get the icing to close the cut in 12 seconds. If it takes longer, add water by the 1/4 teaspoon. If it takes less, add sugar by the 1/2 teaspoon until the thickness is reached. 12 seconds works very well for me as a loose piping but not quite flood. For flood, I take it to about 8-10 seconds.
- After I have reached the desired color and consistency, I put my icing in a bag or bottle and seal it with a tip cap or plastic wrap to keep the air out until I am ready to use it.


 Suzy Q and Mrs. K